")
The World is Beautiful
Autor: Boris F.
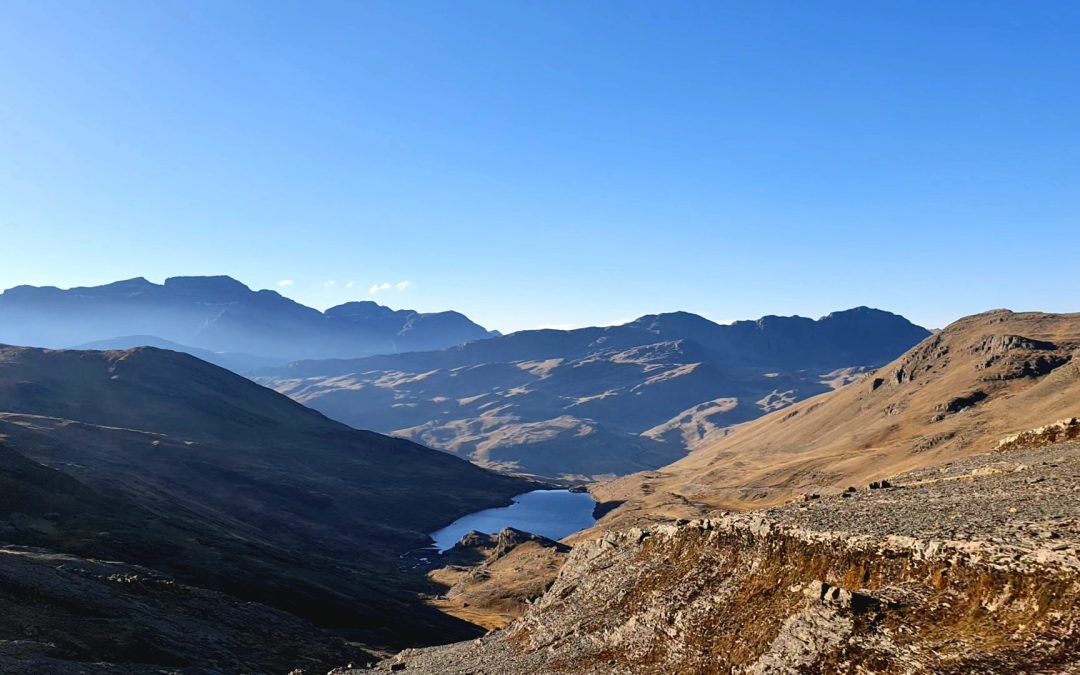
Cerro Cochabamba –...
Autor: Boris F.
Cerro Cochabamba –...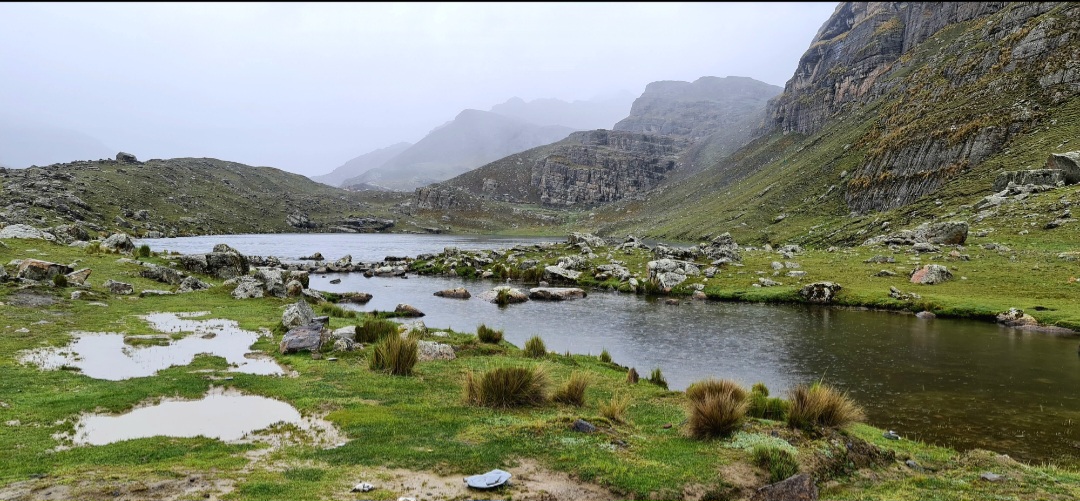
Autor: Boris F.
Cordillera Tunari – Cochabamba –...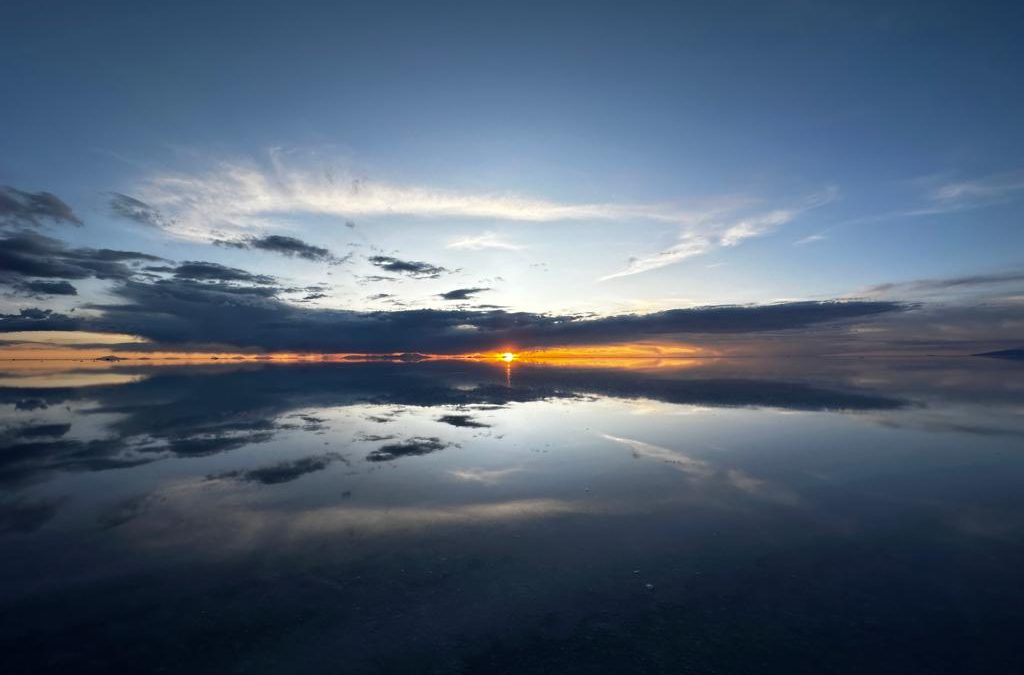
Autor: Boris F.
Beautiful sunset in the Salar de Uyuni...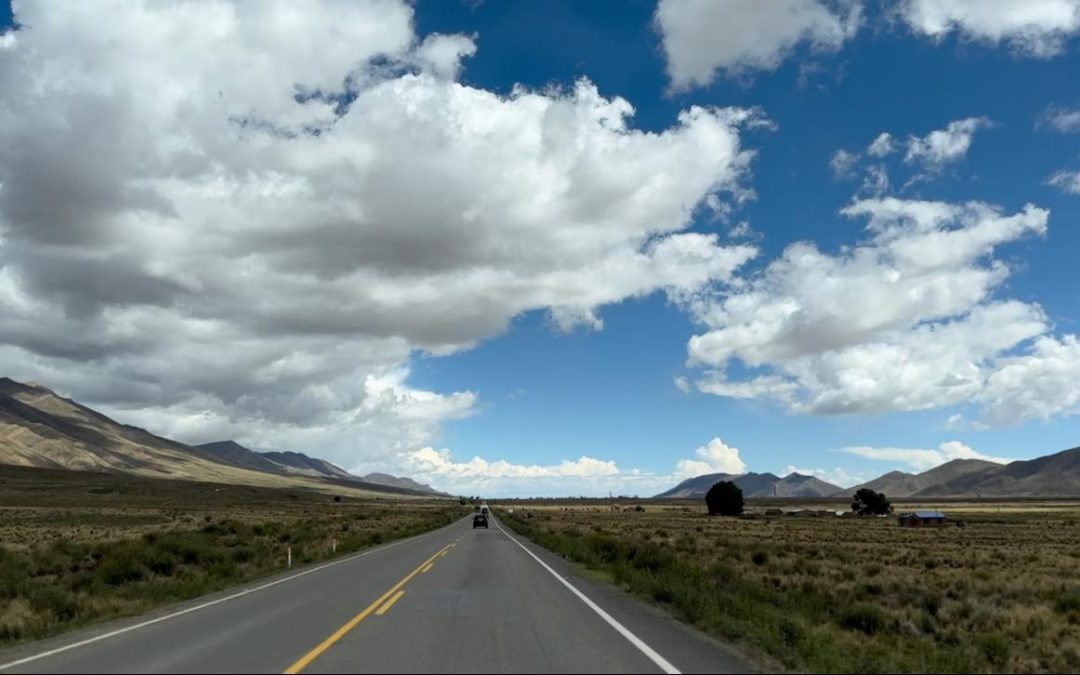
Autor: Boris F.
Route to the Uyuni salt flat, Oruro – Uyuni...